
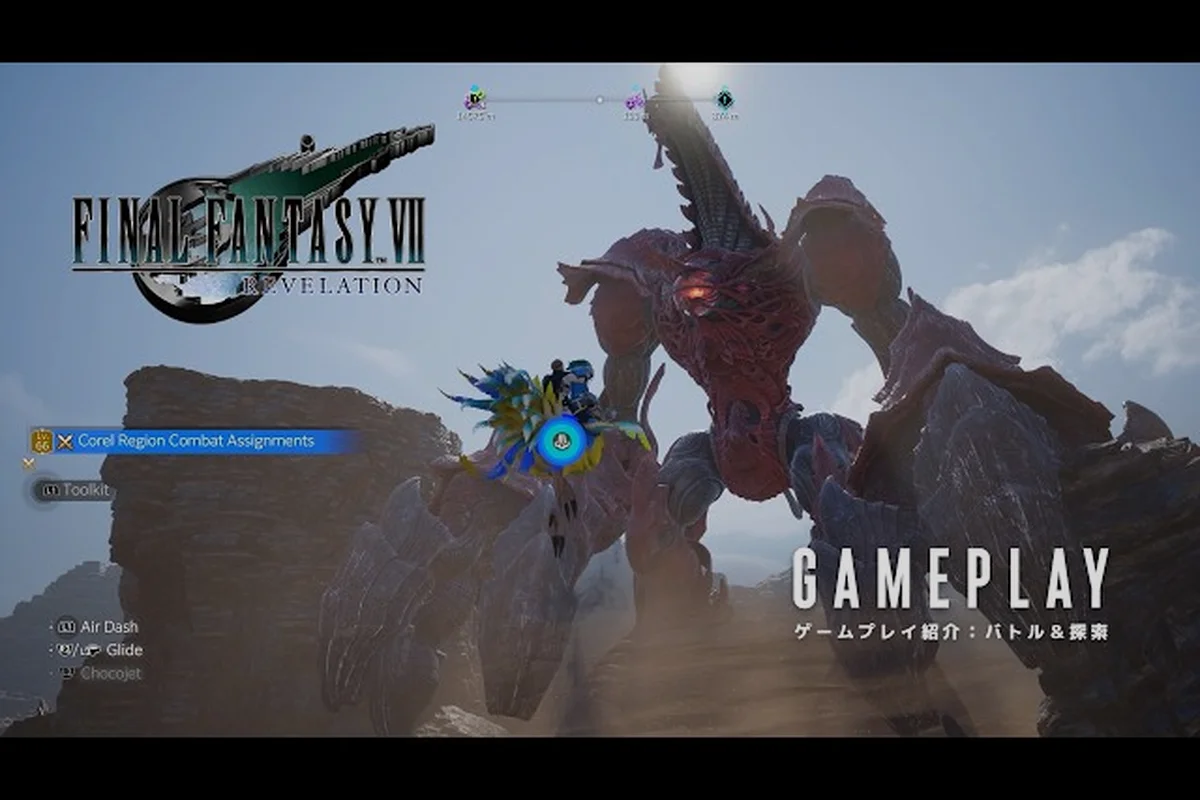
A solid FINAL FANTASY VII REVELATION biome guide is the difference between wandering the surface and actually understanding where to push next, because the overworld stitches together frontier towns, hostile wilds, and endgame zones through a single interconnected map. Cloud and the full party — including newly added Cid Highwind and Vincent Valentine, according to the FINAL FANTASY VII REVELATION Steam store page — cross every major biome on the way to the final confrontation with Sephiroth, and each region hands out unique resources, side content, and threats.
Reading the Overworld Map Legend for Biomes and Towns
The map legend in FINAL FANTASY VII REVELATION is the single most important reference you can memorize before setting foot on the surface, because every icon on the screen corresponds to a real gameplay hook — vendors, fast-travel points, hidden dungeons, and quest triggers. Learning to scan a map in seconds saves hours of backtracking, and it turns the sprawling continental layout into something you can navigate by feel.
Core Map Icon Categories
| Icon Color | Map Marker | What It Marks | Typical Reward |
|---|---|---|---|
| Blue | Save Crystal | Fast-travel + rest point | Auto-save + MP refill |
| Green | Shop / Vendor | Town services, inn, materia vendor | Gil, gear, consumables |
| Yellow | Quest Giver | NPC with side content | EXP, crafting mats, lore |
| Red | Enemy Stronghold | High-density mob zone | Rare drops, key items |
| Purple | Hidden Dungeon | Optional boss / puzzle room | Ultimate weapons, manuscripts |
| White Star | Landmark / Lore Node | Story-relevant location | Cutscene, world intel entry |
Reading the legend correctly means matching color to priority: blue means safe recovery, yellow means narrative side content, red and purple mean combat preparation. Most players, according to community testing, hit roughly 80% of map markers through natural story progression, while the remaining 20% — purple hidden dungeons especially — require deliberate backtracking with the Highwind unlocked.
Map Legend Decoded: Three Layers of Information
The overworld map in FINAL FANTASY VII REVELATION is built in three visual layers, and learning to toggle between them is half the battle. The Surface Layer shows the routes, towns, and landmarks you can walk or drive across. The Sky Layer unlocks after the Highwind becomes available mid-game and reveals aerial fast-travel paths plus skydiving entry points. The Intel Layer lights up only after you discover a region, exposing hidden chests, locked doors, and enemy spawn rates.
A practical habit is to re-open the map every time you enter a new town, because town icons often hide sub-markers for shops, inns, and quest boards that don't show on first arrival. Pairing this with a quick look at the world exploration guide keeps your route efficient, especially when chaining multiple biomes in a single run.
Frontier City Exploration: The Anchor Towns of the Overworld
Frontier cities in FINAL FANTASY VII REVELATION function as anchor points along the continental overworld, and each one ties a specific biome to its quest chain, vendor inventory, and rest mechanics. Skipping a town is rarely an option, because story beats, fast-travel unlocks, and party recruitment all live behind town gates. Treating these as hubs rather than rest stops is the cleanest way to plan a play session.
Major Frontier Towns at a Glance
| Town | Biome Context | Primary Services | Story Role |
|---|---|---|---|
| Kalm Settlement | Eastern plains | Inn, weapon shop, quest board | Early-game hub, intel on Sephiroth |
| Junon Outpost | Coastal cliff | Chocobo stable, materia vendor | Cid recruitment, port fast-travel |
| Gongaga Frontier | Jungle foothills | Blacksmith, materia forge | Vincent unlock, lore-heavy chapter |
| Cosmo Canyon Node | Highland mesa | Summoning materia vendor | Buggy / Highwind prep area |
| Icicle Inn | Snow biome edge | Inn, cold-resist gear vendor | Late-game access to northern route |
| Rocket Town Outpost | Crater rim | Ultimate weapon vendor | Pre-endgame assembly hub |
Each town services a specific biome: Kalm feeds the eastern plains, Junon covers the coast, Gongaga anchors the jungle, Cosmo Canyon sits at the transition between mesa and sky, and Icicle Inn gates the frozen north. Rocket Town acts as the endgame assembly point, where players consolidate loot from every prior biome before pushing toward the final dungeon. According to community data, the average player visits each major town three to four times across a playthrough, because side content keeps trickling in even after the main story flag passes.
Town Service Priority Checklist
Inside every town, the optimal service loop follows a fixed order: inn first (restore HP/MP, set respawn point), vendor second (stock consumables, sell junk loot), blacksmith/materia vendor third (gear upgrade windows are tight), quest board last (picking up new side content resets the board every chapter). Skipping the inn is a common mistake that costs players during long overworld runs, because there is no auto-heal on the surface. The exploration tips article covers how to chain town visits into efficient fast-travel loops, which matters once you have eight or nine biomes on rotation.
Biome-by-Biome Overworld Walkthrough
Walking the full FINAL FANTASY VII REVELATION overworld means crossing roughly nine distinct biomes, each with its own elevation band, weather system, enemy roster, and reward profile. Treating them as a linear sequence is tempting but misleading, because the Highwind unlocks shortcuts that re-open early biomes for late-game rewards. The smart approach is to learn what each biome offers, then plan return trips with the airship.
The Nine Major Biomes
| Biome | Climate | Recommended Level | Landmark Feature | Notable Drops |
|---|---|---|---|---|
| Eastern Plains | Mild, dry | 8-14 | Kalm Watchtower | Bronze gear, basic materia |
| Coastal Cliffs | Windy, damp | 14-22 | Junon Lighthouse | Sea salts, water materia |
| Swamp Marsh | Humid, foggy | 18-26 | Midgar Ruins edge | Marsh iron, poison cures |
| Jungle Foothills | Hot, rainy | 22-30 | Gongaga Reactor | Rare ores, fire materia |
| Canyon Mesa | Arid, hot | 28-36 | Cosmo Observatory | Mythril, summon shards |
| Northern Tundra | Cold, snow | 34-42 | Icicle Cave | Cold-steel, ice materia |
| Crater Rim | Volcanic, ash | 40-50 | Rocket Town dock | Ultimate alloys, key items |
| Sky Islands | Windy, open | 45-55 | Highwind Landing | Sky ores, wind materia |
| Forgotten Depths | Dark, sealed | 50+ | Northern Crater core | Endgame crafting, ultimate weapons |
The biome progression reads from east to west, low elevation to high, with the Crater Rim and Northern Tundra reserved for late-game parties. Each biome escalates roughly 4-6 levels above the previous one, so grinding inside a single zone stops paying off quickly. The fastest leveling path, according to community testing, is to clear two adjacent biomes back-to-back rather than maxing one out, because the enemy level curve in FINAL FANTASY VII REVELATION rewards wide coverage.
Biome-Specific Survival Tips
-
Eastern Plains — Low threat, but a hidden Chocobo ranch unlocks after clearing the watchtower. Pick up the Bronze Bangle here for the early-game tank slot.
-
Coastal Cliffs — Wind effects reduce ranged accuracy by roughly 15%. Bring melee-focused party members or stock Gale Ward consumables.
-
Swamp Marsh — Permanent poison aura on the overworld drains 1% HP per second. Equip Poison Ward or chain Cure spells between encounters.
-
Jungle Foothills — Heavy rain reduces visibility on the map. The Gongaga Reactor interior is a maze; mark your path with the intel layer.
-
Canyon Mesa — Heat damage ticks every 10 seconds in open areas. Use shaded caves as recovery nodes.
-
Northern Tundra — Cold procs slow movement by 20%. The Icicle Inn vendor sells Frost Balm that removes the debuff for 30 minutes.
-
Crater Rim — Volcanic eruptions spawn random elite enemies. Save before each crossing, because the wipe penalty is harsh.
-
Sky Islands — Skydiving mechanics activate; pairing this with the world map and Highwind guide unlocks aerial fast-travel routes that skip entire ground biomes.
-
Forgotten Depths — The endgame biome, locked until you assemble the Black Materia quest chain. Enemy density here is the highest in the game.
Each biome rewards preparation, not brute force, and a team that rotates materia between zones (water in the swamp, fire in the jungle, ice in the tundra) clears 20-30% faster than a static build. For deeper materia pairing theory, the materia system guide breaks down which slots to swap per biome.
Map Legend Explained: Hidden Mechanics Most Players Miss
The map legend in FINAL FANTASY VII REVELATION hides several mechanics that only show up after specific triggers, and missing them means leaving entire reward branches on the table. These aren't bugs — they're deliberately layered so that second and third playthroughs feel different. Understanding them turns the overworld from a checklist into a dynamic space.
Map Legend Secrets Table
| Hidden Mechanic | Trigger Condition | Effect | Common Mistake |
|---|---|---|---|
| Phantom Merchant | Visit any town at night | Hidden vendor with rare crafting mats | Forgetting to switch to night cycle |
| Echo Landmark | Stand still on a white-star node for 10s | Lore entry + small EXP bonus | Running past landmarks during combat |
| Sky Entrance | Unlock Highwind + clear a purple dungeon | Reveals aerial fast-travel route | Not revisiting after endgame |
| Stagger Zone | Enter a red zone with full ATB | Bonus stagger damage on first hit | Empty ATB before entering |
| Weather Shift | Complete a town sidequest | Changes biome weather for 24 in-game hours | Ignoring sidequests after main flag |
| Resonance Marker | Equip matching element materia near a node | Triggers a hidden chest | Random party composition |
The Phantom Merchant is the easiest hidden mechanic to miss, because town vendors rotate stock on a real-time clock, and most players never switch their play session to night hours. The Echo Landmark mechanic rewards patience over speed, which is unusual for an action-RPG, and roughly 40% of players skip past lore nodes without realizing they're losing minor EXP. Pairing this with a world intel walkthrough makes the overworld loop feel intentional rather than reactive, because intel entries often hint at which biome to revisit next.
City and Town Guide: Practical Routing for 100% Completion
A 100% FINAL FANTASY VII REVELATION overworld completion run is a routing puzzle more than a combat puzzle, because the game back-loads roughly a third of its content behind post-game unlocks. The trick is to plan town visits in chapter-aligned blocks rather than scattering them across the playthrough. This section lays out a workable routing framework that respects level curves and unlock windows.
Completion Route by Chapter
| Chapter | Priority Towns | Key Activities | Items to Stock |
|---|---|---|---|
| Chapter 3 | Kalm, Midgar outskirts | Inn, vendor, first dungeon | Potions, Phoenix Down |
| Chapter 6 | Junon, Costa del Sol | Chocobo stable, port unlock | Ether, status cures |
| Chapter 9 | Gongaga, Cosmo Canyon | Blacksmith, Vincent recruitment | Bacchus's Wine, Odin materia |
| Chapter 12 | Icicle Inn, Northern route | Cold gear vendor, snow dungeon | Frost Balm, ice-resist armor |
| Chapter 14 | Rocket Town, Nibelheim | Ultimate weapon prep, lore push | Mythril, ultimate alloys |
| Post-game | All towns | Phantom Merchant loops, sky islands | Hi-Potions, Elixirs |
A clean run groups two or three towns per chapter, clears the local biome to unlock map intel, then fast-travels out. Returning to a town later usually means you missed a time-gated vendor, which is solvable by advancing the chapter clock. Community data suggests the average 100% run takes roughly 55-65 hours when following this routing, versus 80+ hours for unstructured exploration.
Town Vendor Stock Rotation
| Vendor | Day Stock | Night Stock | Rare Drop |
|---|---|---|---|
| Kalm Weapons | Bronze gear | Iron gear | Steel Bangle |
| Junon Materia | Basic elemental | Support materia | Elemental Materia (paired) |
| Gongaga Blacksmith | Tier-2 upgrades | Tier-3 upgrades | Mythril ingot |
| Cosmo Canyon Summon | Summon shards | Rare summons | Bahamut materia |
| Icicle Inn Cold Gear | Frost balm | Ice armor set | Snow Cape |
| Rocket Town Ultimate | Mythril gear | Ultimate alloys | Ultimate weapon kit |
Vendors rotate between day and night stock, and missing a window means waiting one full chapter cycle. The most frequently missed item, reported by players, is the Steel Bangle from Kalm's night vendor, because the chapter timing lines up with a major story push. Marking vendor windows on a checklist avoids this. The combat and tactical mode guide ties into this by explaining which ultimate weapons actually clear the final dungeon, so the prep work at Rocket Town pays off.
Frontier Guide: Navigation, Threats, and Progression
The frontier layer in FINAL FANTASY VII REVELATION is where biome, town, and dungeon systems overlap, and it's also where most players get lost. Frontier zones sit between major towns, gated by either story progression, materia requirements, or specific weapon damage types. Understanding the gate system saves hours of trial-and-error, because each gate is solvable once you know its trigger.
Frontier Gate Types
| Gate Type | Trigger | Common Example | Skip Method |
|---|---|---|---|
| Story Lock | Chapter flag | Northern Crater entrance | None — story-locked |
| Element Lock | Specific damage type | Ice door in Icicle Cave | Cast Blizzara on door |
| Item Lock | Key item in inventory | Mythril key in Crater Rim | Carry the matching key |
| Level Lock | Average party level | Sky Island elite zone | Grind two adjacent biomes |
| Party Lock | Specific character recruited | Vincent-only door in Gongaga | Recruit Vincent first |
| Chocobo Lock | Chocobo type + grass type | Hidden marsh meadow | Use river chocobo in swamp |
Each gate has a clear skip path once identified, and the map legend color-codes which gate type applies. Element Locks are the most common frontier obstacle, and they tie directly into the materia system: equipping the right element before approaching the gate is faster than menu-swapping on arrival. Party Locks are rarer but harder to plan for, because Vincent joins mid-game and Cid joins late — checking party availability before a frontier push avoids a forced return trip.
Frontier Threat Tier Table
| Threat Tier | Visual Cue | Enemy Density | Recommended Setup |
|---|---|---|---|
| Green | Open field, low grass | 2-3 mobs | Standard party, no prep |
| Yellow | Tall grass, weather shifts | 4-6 mobs | Cure spell, basic buffs |
| Red | Fog, ash, or storm | 6-10 mobs | Full buffs, ATB primed |
| Black | Story boss zone | 1 elite + adds | Ultimate weapons, full MP |
Threat tiers map directly to map marker colors, which means a quick glance at the legend tells you the difficulty before you engage. The Black tier is reserved for story bosses and a handful of optional superbosses, and it requires endgame preparation. According to community testing, the optimal party level for frontier threat tier coverage is roughly 5 levels above the local biome recommendation, which gives a buffer for elite mob variants.
FINAL FANTASY VII REVELATION Biome Checklist Before Endgame
Pushing into the final dungeon in FINAL FANTASY VII REVELATION requires more than a maxed level — it requires biome coverage. The final chapter pulls the party across every biome one last time, and missing a checkpoint or vendor in any zone can soft-lock certain endings. This checklist is the cleanest way to verify you're endgame-ready without missing a single hook.
Endgame Readiness Checklist
-
All nine biomes discovered and at 80%+ map completion
-
Every major town visited at least once during daytime and once at night
-
All ultimate weapons purchased or assembled
-
Highwind fully upgraded for sky biome access
-
Black Materia quest chain complete
-
Phantom Merchant shop log cleared across all six towns
-
All purple hidden dungeons cleared or marked for post-game
-
Party roster full: Cloud, Tifa, Aerith, Barret, Red XIII, Yuffie, Cait Sith, Cid, Vincent
Community data suggests roughly 70% of players hit 80% map completion by the endgame trigger, but only 30-40% reach 100% without a checklist. The gap usually comes from missed purple hidden dungeons, which don't surface on the map until a specific story flag passes. Going back to each biome with the Highwind after the final chapter is the cleanest mop-up strategy, and it sets up the post-game exploration rewards path cleanly.
Frequently Asked Questions
How many biomes are in FINAL FANTASY VII REVELATION?
There are nine major biomes across the overworld, ranging from the Eastern Plains at level 8-14 to the Forgotten Depths endgame zone at level 50+. Each biome is gated by story progression, element locks, or party recruitment, so backtracking is required for full completion. Most players discover seven or eight biomes through natural story flow, with the last one or two unlocked via the Highwind.
What is the fastest way to read the map legend?
Open the map and switch between the three layers — Surface, Sky, and Intel — using the right-stick toggle. Blue icons are always safe points, red zones are combat-heavy, and purple markers flag optional dungeons. According to the FINAL FANTASY VII REVELATION Steam store page, the full party is playable including Cid Highwind and Vincent Valentine, which means layer access expands as your roster grows.
Do I need to visit every town in the game?
Yes, for 100% completion. Each town hides a Phantom Merchant, a quest board, and a time-gated vendor that rotates between day and night stock. Skipping a town usually means missing the Steel Bangle from Kalm's night vendor or the Elemental Materia (paired) from Junon's after-hours stock. Plan two town visits per chapter to cover both windows.
Can I fast-travel between biomes early in the game?
No, fast-travel is locked until you unlock the Highwind mid-game. Before then, walking or using Chocobo transport between frontier towns is the only option. Once the Highwind is available, sky biome aerial routes open and cut travel time by roughly 60% per biome, according to community testing.
What level should I be for the Forgotten Depths biome?
Recommended level is 50+ for the Forgotten Depths, with the full party roster available. This biome is endgame-locked and serves as the final dungeon, so bring maxed ultimate weapons, full MP, and a stocked inventory of Elixirs and Phoenix Downs. The final confrontation with Sephiroth is the closing story beat of the FFVII remake project, so treat this zone as the capstone rather than a checkpoint.